
UV light curable adhesives, coatings, encapsulants, potting compounds, temporary masking material and form-in-place gaskets cure in seconds on exposure to light energy, usually a combination of long wave UV and visible light. They can optimise assembly speed, increase product throughput and enable 100% in-line inspection.
However, according to Peter Swanson, managing director at adhesives specialist Intertronics, to make the most of the benefits that UV curing offers, it’s important to optimise the process.
Lamp choice
“UV curing lamps are largely based on two types of quite different technology,” Swanson explains. “Mercury arc lamps produce a broad spectrum of light and have been used successfully for decades, making them the predominant type of lamp for UV curing.”
He adds that despite their popularity, this type of lamp does have some drawbacks. For example, they typically have a less than 2,000-hour bulb operational life; the intensity of the lamp degrades over time, a process variable which needs measurement and understanding. Compensating for this is important for guaranteeing a complete cure. The bulb will need replacing before the output becomes inefficient.
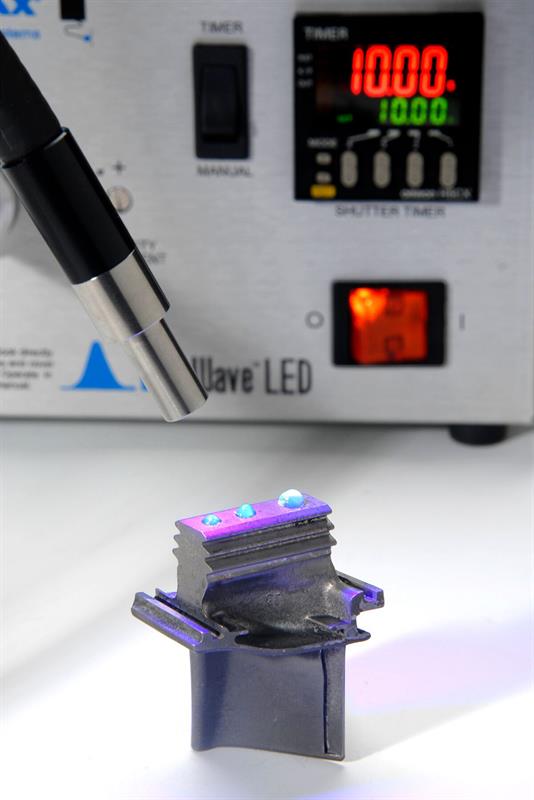
LED lamps are a more recent technology and, unlike mercury arc lamps, produce a narrow spectrum of light. When using a LED UV curing lamp, the output does not appreciably degrade over time, there are no bulbs to replace and there is no warm-up time required. LED lamps emit a cooler light radiation than mercury arc lamps, are more electrically efficient and meet the increasingly stringent regulations regarding the use of mercury. However, LED lamps will not work optimally with all UV curing adhesives, many of which are designed to cure with broad spectrum UV light.
Swanson says: “When choosing a lamp, it’s important to remember that not all materials cure optimally with both types of lamp, and a mismatch can result in non-optimal or poor bonds. Before taking advantage of LED UV curing technology, it’s important to remember that it is not a simple like-for-like replacement for a broad-spectrum lamp. The spectral output of a curing lamp should be correctly matched with the material that is being cured.”
Correct dose
The key to success with UV curing is ensuring that the adhesive or other light curing material receives the correct dose of UV light, which is dependent on a combination of light intensity and time of exposure, at the appropriate wavelengths for the material.
This can be achieved by carrying out testing before the final cure to understand the minimum dose needed for an application. From this, the user can see how much energy is needed to achieve an optimal cure and can establish a curing process at the minimum dose, plus a recommended 25% safety factor.
“As a rule of thumb,” suggests Swanson. “Intertronics recommends a minimum curing intensity of around 50mW/cm2. It is not recommended to use very low power UV lights for extended times as this is likely to result in non-optimal or incomplete curing for most industrial grade products, which may have a minimum activation energy level. Higher intensities should give a better cure and therefore a better performance in a shorter process time.”
A radiometer can be used to measure light intensity and will give an output in either mW/cm2 or W/cm2. Radiometers with different spectral sensitivities are recommended for use with the different broad spectrum and LED curing lamps. Some radiometers can also measure dose.
“If you’re unsure which radiometer is suitable for your application, the technical staff at your UV equipment or materials supplier should be able to advise you,” Swanson says.
 The process
With most UV curing adhesives, curing starts with exposure to light and stops when the light is removed. The production process should ensure a full cure during the time of exposure. If possible, all of the adhesive should be exposed in one dose of UV light, as multiple exposures could affect the integrity of the bond.

“Exposure to UV light can be hazardous,” warns Swanson. “So, it is important to observe the health and safety rules that have been put in place.
“A radiometer can also be used for safety purposes to help check the levels of UV light in and around the curing equipment. Appropriate personal protection equipment needs to be used at all times in accordance with the ‘Control of Artificial Optical Radiation at Work Regulations 2010’. It’s also important to dispose of all unused, uncured or residual material in accordance with the European Directives on waste and hazardous waste, local regulations and in conjunction with the material’s safety data sheet. Unused material can be cured and disposed of as plastic.”
With new UV curing technologies entering the market regularly, there is even more potential for it to streamline manufacturing, once the process is right. For those struggling to optimise the UV curing process, specialists such as Intertronics may be able to help.


